You’re getting ready for Thanksgiving, and one of the most important aspects of the holiday is the centerpiece of your dinner table – the turkey. But are you unsure of how to brine and roast a turkey to perfection? Well, you’re in luck! In this article, we will guide you through the simple and essential steps to properly brine and roast a Thanksgiving turkey, ensuring a juicy and flavorful bird that your guests will rave about. So grab your apron and let’s get started on bringing out the best in your Thanksgiving feast!
Choosing the Turkey
Decide on the size of the turkey
When it comes to choosing a turkey for Thanksgiving, one of the first decisions you’ll need to make is the size of the turkey. Consider the number of guests you’ll be serving and how much leftover turkey you’d like. A general rule of thumb is to aim for 1.5 pounds of turkey per person. This ensures that everyone will have enough to enjoy, plus some extra for sandwiches or leftovers.
Choose between fresh or frozen turkey
Next, you’ll need to decide whether to go for a fresh or frozen turkey. Fresh turkeys have not been frozen and often have a shorter shelf life, so they should be purchased closer to the cooking date. Frozen turkeys, on the other hand, are more convenient as you can purchase them well in advance. Just be sure to allow enough time for the turkey to thaw properly if you choose a frozen one.
Consider organic or free-range options
Another factor to consider when choosing a turkey is whether you prefer an organic or free-range option. Organic turkeys are raised without the use of antibiotics or hormones and are fed an organic diet. Free-range turkeys are raised in a more natural environment and have the freedom to roam and forage for food. Both options offer a more ethical and sustainable choice for those who are conscious about the source of their food.
Preparing the Brine
Gather the necessary ingredients
Before you can start brining your turkey, you’ll need to gather all the necessary ingredients. The basic brine recipe typically includes water, salt, and sugar. However, you can also add other ingredients such as herbs, spices, citrus, or even apple cider for additional flavor. Make sure you have enough ingredients to create a brine solution that will fully submerge your turkey.
Determine the brining time based on turkey weight
The brining time for your turkey will depend on its weight. As a general guideline, you should brine your turkey for about 1 hour per pound. For example, if you have a 12-pound turkey, you’ll want to brine it for approximately 12 hours. It’s important to keep in mind that the brining time should also be adjusted based on the strength of the brine solution and your personal preference for saltiness.
Prepare the brine solution
To prepare the brine solution, start by heating water in a large pot. Add salt and sugar to the water, stirring until they dissolve completely. You can also add your choice of herbs, spices, or other flavorings at this stage. Allow the brine solution to cool completely before using it to brine the turkey. It’s important to ensure that the brine is properly cooled to prevent any bacteria growth.
Brining the Turkey
Thaw the turkey if using a frozen one
If you’ve chosen a frozen turkey, make sure to thaw it before brining. Thawing should be done in the refrigerator, allowing enough time for the turkey to defrost slowly and safely. A general guideline is to allow 24 hours of thawing time for every 4-5 pounds of turkey. This slow thawing method ensures that the turkey remains at a safe temperature and helps maintain its moisture.
Place the turkey in a brining bag or container
Once the turkey is thawed, it’s time to prepare it for brining. Place the turkey in a brining bag or a container large enough to hold the turkey and the brine solution. It’s important to use a non-reactive container such as plastic, stainless steel, or glass. Avoid using aluminum or other reactive materials as they can cause a metallic taste in the turkey.
Pour the brine solution over the turkey
Carefully pour the cooled brine solution over the turkey, ensuring that the turkey is fully submerged. If needed, you can use a weighted plate or a heavy object to keep the turkey submerged. The brine solution works to infuse flavor into the meat and helps to retain moisture during the cooking process. Once the turkey is fully submerged, seal the bag or cover the container and place it in the refrigerator.
Chilling the Brined Turkey
Make sure the turkey is fully submerged in the brine
Before refrigerating the brined turkey, it’s important to double-check that the turkey is fully submerged in the brine solution. This ensures maximum flavor infusion and equal distribution of the brine. If necessary, add more brine solution or adjust the position of the turkey to ensure it remains fully submerged throughout the brining process.
Refrigerate the turkey for the recommended brining time
Once the turkey is fully submerged in the brine, it’s time to refrigerate it. The turkey should be refrigerated for the recommended brining time based on its weight. This allows the flavors to penetrate the meat and enhances the tenderness and juiciness of the cooked turkey. It’s essential to follow the recommended brining time to avoid oversaturating the turkey with salt and prevent any undesirable texture changes.
Keep the turkey cold throughout the brining process
During the brining process, it’s crucial to keep the turkey cold to prevent bacterial growth. Make sure your refrigerator is set to a temperature below 40°F (4°C) to maintain food safety. Additionally, you can place the brining bag or container on a rimmed baking sheet to catch any potential leaks and prevent cross-contamination in your refrigerator. Regularly check the refrigerator temperature and ensure that it remains consistent during the brining period.
Preparing the Roasting Pan and Rack
Select a suitable roasting pan and rack
To ensure optimal roasting results, it’s important to choose a suitable roasting pan and rack. The roasting pan should be large enough to comfortably accommodate the turkey while allowing air circulation for even cooking. Opt for a heavy-duty, oven-safe pan that can withstand high temperatures and has sturdy handles for easy maneuvering. The rack should be elevated to lift the turkey off the bottom of the pan, allowing heat to circulate and ensuring even browning.
Grease the roasting rack to prevent sticking
To prevent the turkey from sticking to the roasting rack during cooking, it’s advisable to grease the rack. This can be done by lightly brushing the rack with cooking oil or spraying it with non-stick cooking spray. Greasing the rack helps the turkey maintain its shape and makes it easier to transfer off the rack once it’s fully cooked. This simple step will ensure that the turkey comes out beautifully without any unsightly skin tears.
Preheat the oven to the appropriate temperature
Before roasting the turkey, it’s necessary to preheat the oven to the appropriate temperature. The recommended temperature for roasting a turkey is typically around 325°F (165°C). Preheating the oven allows for consistent cooking throughout the turkey and helps achieve a crispy, golden-brown skin. Make sure to allow sufficient time for the oven to reach the desired temperature before placing the turkey in to roast.

Removing the Turkey from the Brine
Carefully lift the turkey out of the brine
After the recommended brining time has passed, it’s time to remove the turkey from the brine. Carefully lift the turkey out of the brining bag or container, allowing any excess brine to drain off. You may want to place the turkey on a wire rack set over a rimmed baking sheet to catch any drips and prevent a mess. Take your time during this process to minimize the risk of spills or accidents.
Discard the brine solution
Once the turkey has been removed from the brine, it’s important to discard the brine solution. The brine solution should never be reused or consumed due to potential bacterial contamination. You can safely dispose of the brine by pouring it down the drain or toilet. Make sure to thoroughly clean the brining bag or container to prevent any lingering bacteria.
Pat the turkey dry with paper towels
Before proceeding with seasoning the turkey, it’s essential to pat it dry with paper towels. Removing excess moisture from the surface of the turkey will allow the skin to become crispy during roasting. Gently blot the turkey, absorbing any moisture that may have accumulated. Once the turkey is dry, you’re ready to move on to the next step in preparing your Thanksgiving turkey.
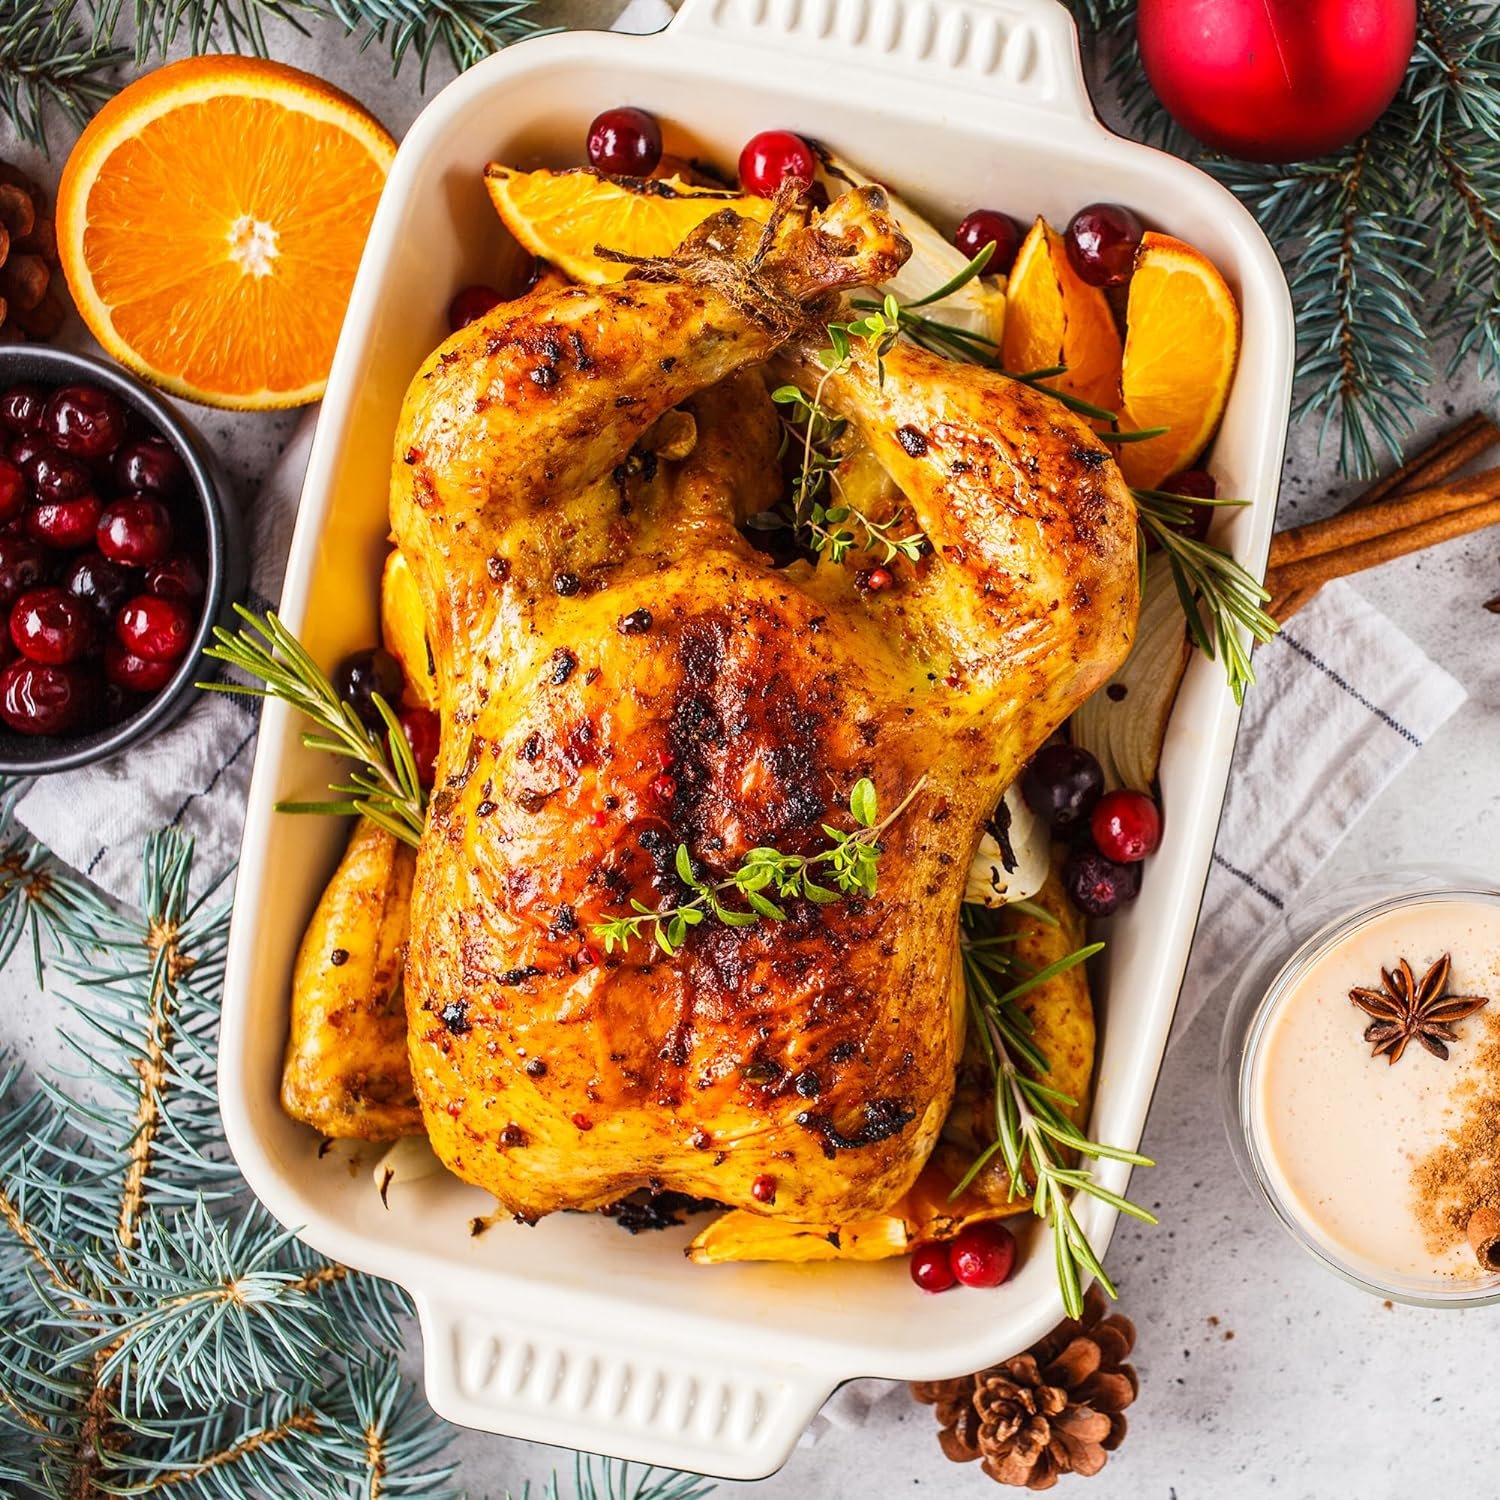
Seasoning the Turkey
Apply desired seasonings to the turkey
Now it’s time to add flavor to the turkey by seasoning it. You can use a variety of seasonings such as salt, pepper, garlic powder, onion powder, or even a pre-made seasoning blend. Make sure to season both the exterior and the interior cavity of the turkey for maximum flavor. Take your time and evenly distribute the seasonings, massaging them into the skin for optimal taste.
Consider using a herb butter rub for extra flavor
For an extra burst of flavor, consider using a herb butter rub on your Thanksgiving turkey. To make the rub, combine softened butter with your choice of fresh herbs such as rosemary, thyme, sage, or parsley. Mix the herbs into the butter and then spread the herb butter mixture generously over the turkey, both under the skin and on top of it. This herb butter rub adds moisture and richness to the turkey during the roasting process.
Season both the exterior and interior of the turkey
When seasoning the turkey, it’s important to remember to season both the exterior and the interior of the bird. Seasoning the exterior of the turkey will enhance the flavor of the skin and provide a savory taste throughout. Seasoning the interior cavity of the turkey ensures that the flavors penetrate the meat from the inside, resulting in a well-seasoned and delicious turkey.
Trussing the Turkey
Tuck the wings under the body of the turkey
Trussing the turkey helps it cook more evenly and maintains its shape during roasting. To start, tuck the turkey’s wings under its body. This prevents the wings from drying out and burning during the cooking process. By securing the wings in this way, you also help the turkey maintain its presentation, creating a more attractive centerpiece for your Thanksgiving table.
Tie the legs together with kitchen twine
After tucking the wings, tie the turkey’s legs together with kitchen twine. This step helps to hold the turkey’s shape, ensuring even cooking and preventing any parts from overcooking. By tying the legs together, you create a compact turkey that will roast more evenly, resulting in moist and tender meat. Make a secure knot to keep the legs tightly bound during the roasting process.
Secure the neck skin to the back of the turkey
To achieve a neat and professional appearance, secure the turkey’s neck skin to the back of the bird. This helps to hold the stuffing or any aromatics in place while also providing a cleaner presentation. You can use metal skewers or toothpicks to secure the neck skin to the back of the turkey, making sure it remains securely in position throughout the roasting process.
Placing the Turkey on the Rack
Transfer the turkey to the greased roasting rack
Once the turkey has been seasoned and trussed, it’s time to transfer it to the greased roasting rack. Carefully lift the turkey and place it on the rack, ensuring that it remains in the center. The elevated rack allows hot air to circulate around the turkey, resulting in even cooking and a crispy skin. Make sure the turkey is securely positioned on the rack before moving on to the next step.
Ensure the turkey is centered on the rack
To promote even cooking, it’s important to ensure that the turkey is centered on the roasting rack. This allows for proper air circulation throughout the oven, preventing any areas of the turkey from being undercooked or overcooked. Take a moment to adjust the position of the turkey if needed, ensuring that it is in the center of the rack before placing it in the oven.
Place the rack in the prepared roasting pan
Lastly, place the greased roasting rack with the turkey inside the prepared roasting pan. The roasting pan will catch any drippings and prevent them from spilling onto the oven bottom. The elevated rack also keeps the turkey elevated, allowing for even cooking and browning. Double-check that the rack is securely in place before moving on to the final step: roasting the turkey.
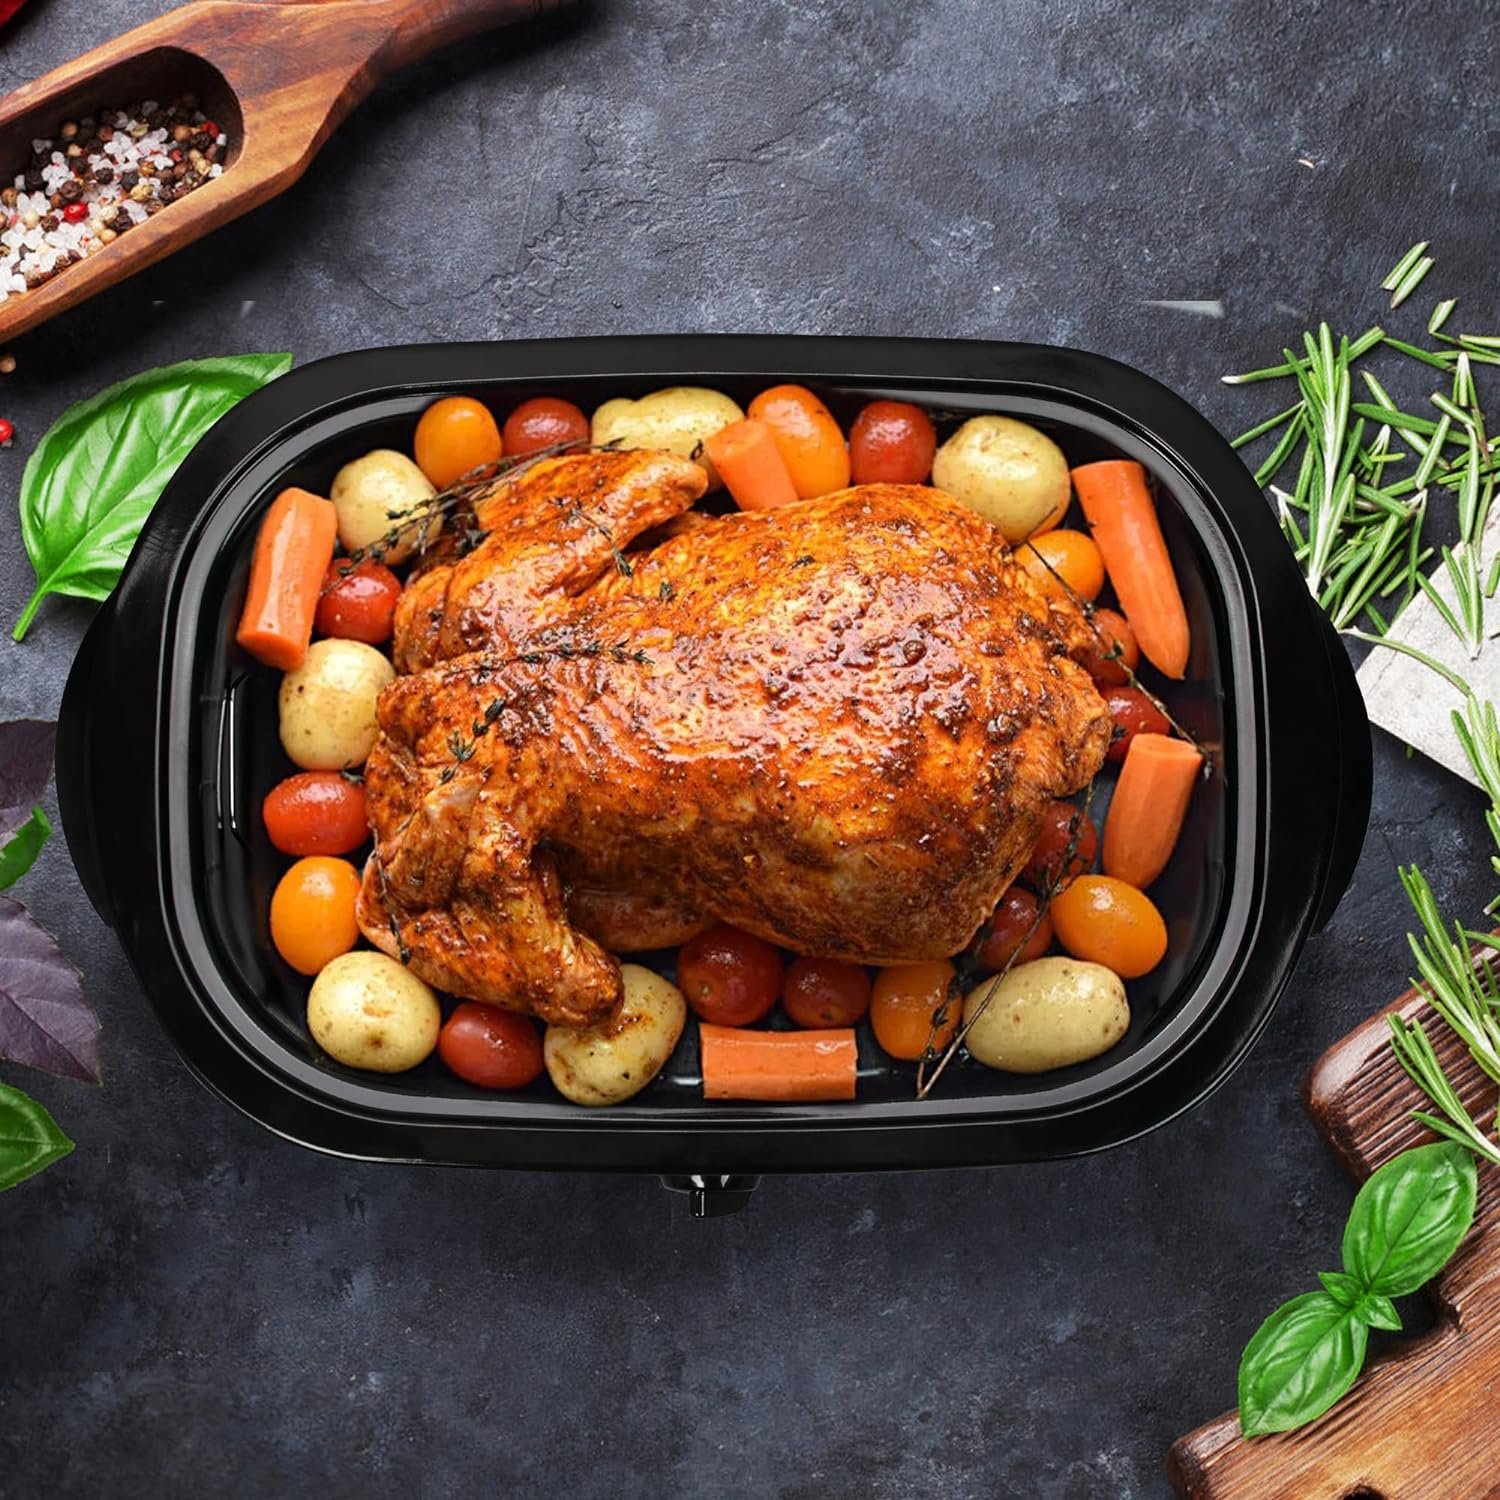
Roasting the Turkey
Calculate the cooking time based on turkey weight
Before putting the turkey in the oven, it’s important to calculate the cooking time based on its weight. As a general guideline, plan for approximately 15 minutes of cooking time per pound of turkey. However, it’s always best to refer to a reliable recipe or cooking chart for more precise cooking times. This ensures that the turkey reaches the proper internal temperature and is cooked to perfection.
Cover the turkey with foil for the first portion of cooking
To prevent the turkey’s skin from getting too dark or overly browned, it’s recommended to cover it with foil for the first portion of the cooking time. This helps the turkey retain its moisture and promotes even cooking. After the initial period, the foil can be removed to allow the skin to brown and become crispy, adding texture and flavor to your Thanksgiving centerpiece.
Baste the turkey periodically during roasting
Throughout the cooking process, it’s important to periodically baste the turkey to keep it moist and flavorful. Basting involves spooning the pan juices or melted butter over the turkey to enhance the flavor and prevent it from drying out. Baste the turkey every 30 minutes or so, using a baster or a spoon to drizzle the juices over the entire surface of the turkey.
By following these steps to properly brine and roast your Thanksgiving turkey, you can ensure a perfectly cooked and delicious centerpiece for your holiday feast. From choosing the right size turkey to seasoning it with flavorful herbs and spices, each step plays a crucial role in creating a memorable and mouthwatering Thanksgiving meal. So, gather your ingredients, prepare the brine, and get ready to savor the mouthwatering results of your brined and roasted turkey. Happy cooking and enjoy your Thanksgiving celebration!